Intro to nvim-platformio.lua
If you work with microcontrollers you must have heard of PlatformIO. It is a tool which we can use to program and debug multiple families of microcontrollers in various frameworks with little to no manual setup work. PlatformIO takes care of installing the tool, setting up the project, build, upload and debug. PlatformIO comes with an extension for VS Code which wraps the underlaying PlatformIO cli tool and exposes a very nice interface to setup project and use other tools. But if you are a n/vim user like me, you only have the cli. I was fine with cli but I wanted that ease of use like VS Code extension so I made this neovim plugin called nvim-platformio.lua
Installation process
- Install the PlatformIO core
curl -fsSL -o get-platformio.py https://raw.githubusercontent.com/platformio/platformio-core-installer/master/get-platformio.py
python3 get-platformio.py
- Now check if you have PlatformIO cli ready to use
pio --version
- Added
anurag3301/nvim-platformio.luaplugin and its dependencies for installation in your neovim package manager, here I have given example forlazy.nvim
return {
    "anurag3301/nvim-platformio.lua",
    dependencies = {
        { "akinsho/nvim-toggleterm.lua" },
        { "nvim-telescope/telescope.nvim" },
        { "nvim-lua/plenary.nvim" },
    },
}
And that's you have nvim-platformio.lua and PlatformIO ready to be used 🥳.
Usage
Setup a project
- Create a new directory for the project and cd into it, in my case ill be using a ESP32.
mkdir esp_project
cd esp_project
- Open neovim and run
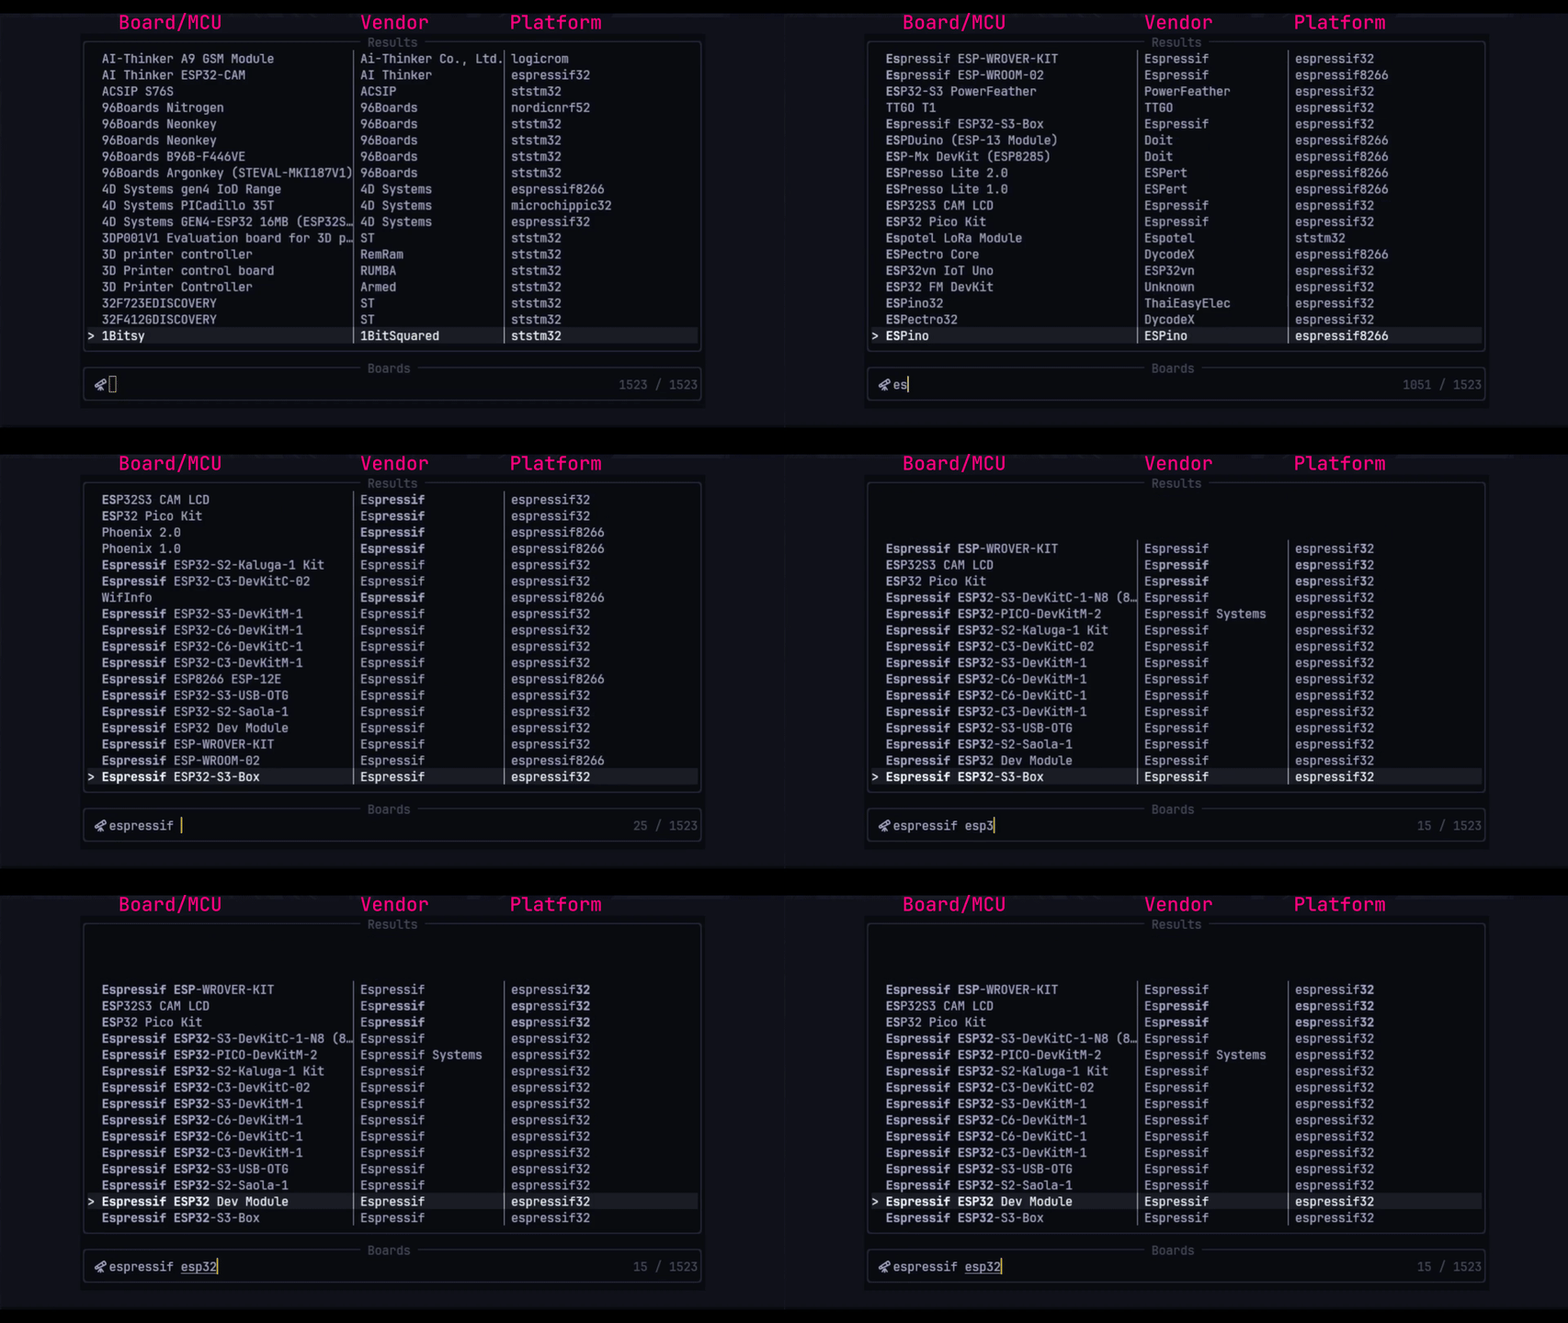
:Pioinit, this will open a telescope picker where you can fuzzy find and select the board you want to use. Then press enter.

- After selecting the board, you'll have option to select the desired framework such as
Arduino,ESP-IDF,STM32 Cubeetc. And press enter. - Now a toggleterm window will pop up which will run the
pioproject setup command and install any missing tools or dependencies. - Now you should have a
PlatformIOproject setup with.cclsfile which will let yourLSPmake aware of the include path for the libraries. - Open the
src/main.cfile and write the code. In my case I wrote a simpleESP-IDFcode which blink led and print to Serial line.
#include "freertos/FreeRTOS.h"
#include "freertos/task.h"
#include "driver/gpio.h"
#include "esp_log.h"

#define BLINK_GPIO 12

void app_main() {
    gpio_pad_select_gpio(BLINK_GPIO);
    gpio_set_direction(BLINK_GPIO, GPIO_MODE_OUTPUT);
    while(1) {
        gpio_set_level(BLINK_GPIO, 1);
        ESP_LOGI("LED", "LED ON");
        vTaskDelay(1000 / portTICK_PERIOD_MS);
        gpio_set_level(BLINK_GPIO, 0);
        ESP_LOGI("LED", "LED OFF");
        vTaskDelay(1000 / portTICK_PERIOD_MS);
    }
}
- Compile and flash the code by running
:Piorun. - Open the serial monitor to see the output by running
:Piomon
This was a brief introduction to PlatformIO and nvim-platformio.lua.
- Run
:help PlatformIOto see the detailed usage and option for each command.- Checkout platformio.ini docs for project configuration.
- PlatformIO cli to extend usage.